

I know firsthand that taking photos of yourself when traveling solo can be really awkward, a bit of a pain and a downright hassle 🙂 Over the past 5 years I have refined my process and have detailed how I go about it below. As a note, I have not included the always convenient selfie stick option because I rarely share these photos on @suitcaseandi but I thought I should mention this first up as it’s always an option!
1. Have the right equipment: Tripod & Remote Shutter Release… or a Drone!
If you want professional results the best option is to invest in camera gear – this means having a lightweight camera, tripod and remote shutter release.
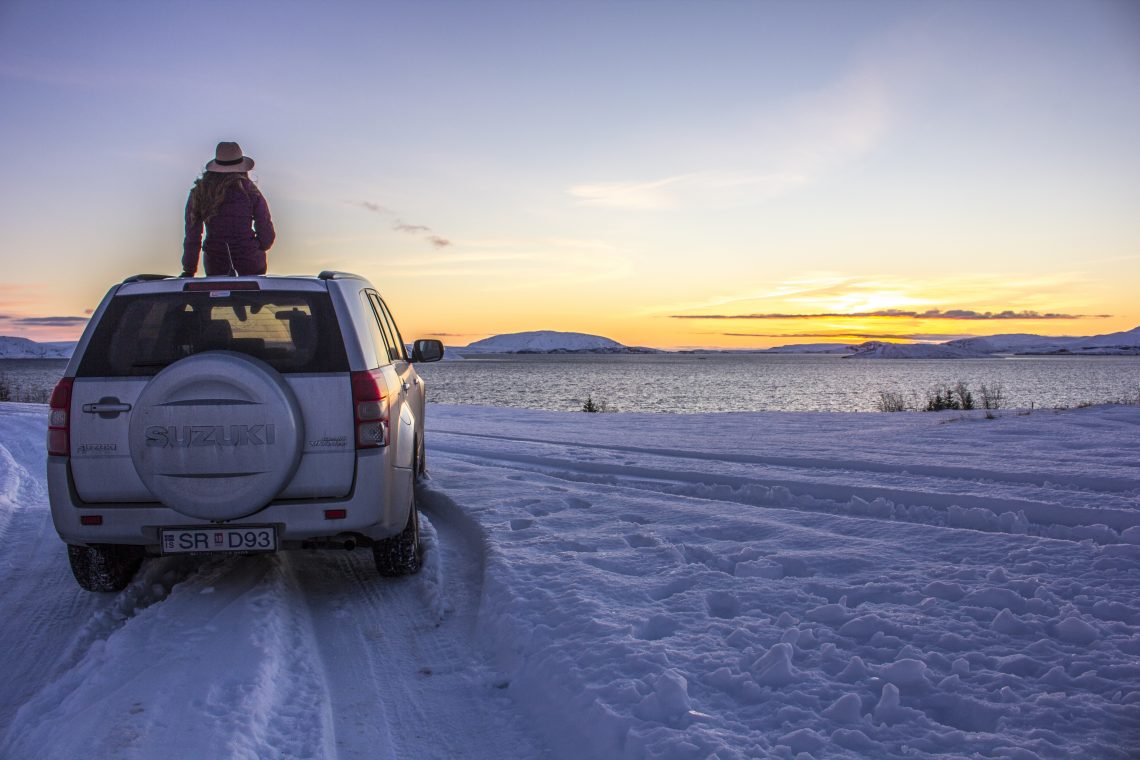
Most of my photos are achieved by putting my camera on my tripod, attaching my remote shutter release, walking into the shot and pressing the shutter when I am ready for the photo. This way I can set up the composition before putting myself in the frame.
The specific equipment I use:
- Sony a7iii
- Sony FE 24-105mm F4 G OSS lens
- Manfrotto Compact Action Aluminum Tripod
- YouPro Remote Shutter Release
- Lowepro Backpack to safely store all my gear on a daily basis
When is this method most suitable:
From my experience, this method is best used in (1) Touristy areas where it’s safe to set up (2) When you have space to yourself. I usually shoot early in the morning when there is barely anyone about so I don’t have to worry about someone stealing my gear or knocking it over.
The shutter release I use works up to 100 metres which is super handy for shots where I want to be further away from the camera. It is also a great tool to have if you are ever going to do a long exposure shot (Northern Lights).
I’ve recently upped my travel selfie game with a DJI Mavic Pro Drone. This has been a lot of fun and resulted in some really cool shots, so something to consider if you’re a hobbyist or travel blogger.


2. Don’t want to invest in gear? Ask someone in your vicinity… but in the right way.
Asking other travelers is a suggestion that most travel blogs will mention but this is easier said than done. It can be awkward and because everyone has different photography experience, you may not get the photo you’re after! Below I have written the exact process I go through.
Who to ask?
Look for someone with a DSLR camera, this will usually mean they have a better understanding of photography and will possibly frame your photo better. Also avoid asking anyone in a large group or with kids (you don’t want to be a hassle!). I try and look for a fellow solo traveler or a couple, so I can offer to take their photo for them as well 🙂
What to ask?
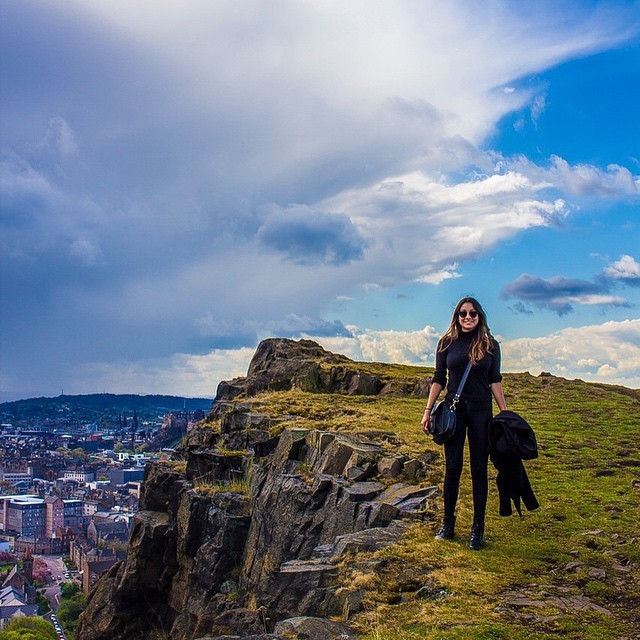
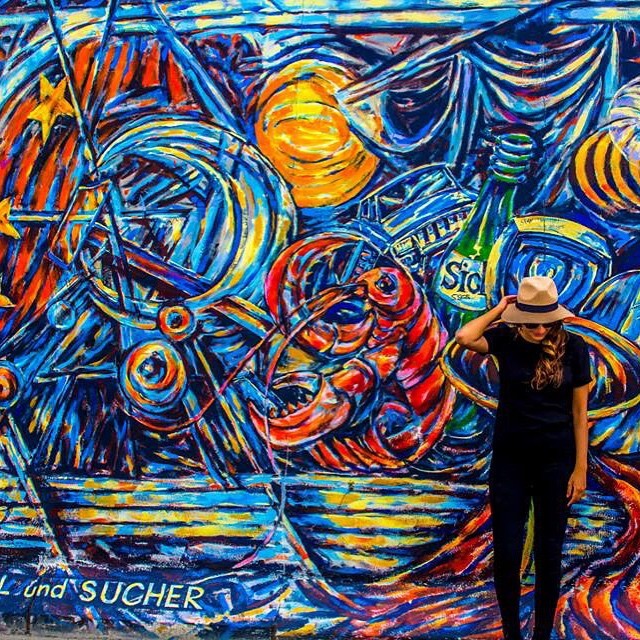
Be really specific – which might feel awkward but it always turns out best! When I ask someone to take my photo I first gauge how happy they are to take it and if they are, I will make a note such as “Oh, if you could get those mountains in the shot *points* that would be amazing!”
Always give a big thank you 🙂
My Number 1 Tip for asking someone to take your photo!!
Take a photo beforehand with your ideal frame. The reality is that even with directions the person you ask might not understand what you are envisioning. An effective method I used before I bought my tripod was to take the photo I wanted before approaching the person. That way I can show them the photo I took on my screen and be like “I just took this photo and would absolutely love one like it with me in the frame if that is not too much trouble!”
This way the person can see the exact photo you want without you having to give any instructions. As I mentioned previously, I always make sure to be super appreciative and offer to take their photo as well!
When is this method most suitable:
I only really use this method when setting up a tripod would be impractical or a nuisance. The problem with this method though is you need other tourists in the vicinity there to take the photo.

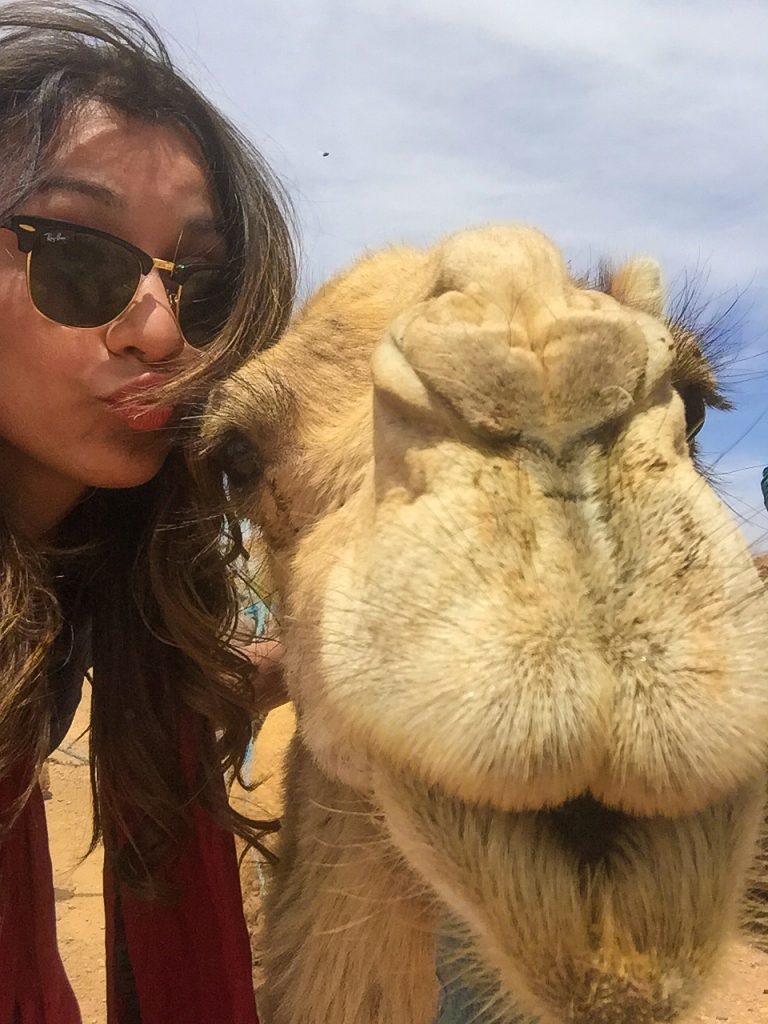
3. What to do when you don’t have a tripod and no one is about? Get creative with your self-timer
I completely understand that not everyone wants to invest in a tripod and shutter release. I didn’t have a tripod or shutter release for the first 6 months of my travels so my solution was to get creative with my self-timer. Ledges, rocks, tilting the camera up using something on the ground – you name it, I probably tried it. I was surprised how many of these shots lead to some really cool and different perspectives!

The only drawcard of this option is that you might not be able to get very far away from the camera. For example, my camera has a maximum 10-second timer on it.
Want to improve your iPhone Photography? Here’s my ultimate guide to improving your smartphone travel pics.
Overall…
Traveling solo does not mean that you have to miss out on having amazing self-portrait travel photos! While it does take some getting used to, I personally think that it is worth the effort because these photos will remind you of priceless memories and experiences.
If you have any questions feel free to comment below as I would love to help out!