

While I love my Canon 70D and think that camera gear is 100% worth the investment for your travels, it isn’t always practical to carry a camera around 24/7. Because of this, I have always made sure my smartphone was camera-ready no-matter the destination. Over the years I have learned some simple tricks and bought some invaluable accessories that will seriously upgrade your phone photography.


Invest in Smartphone Photography Gear
There are no two ways about it, if you want the best possible shots on your iPhone you’ll need to invest in quality gear. There are a lot of options on the market (and I’ve gone through my fair share of shoddy ones), so here is the gear I actually think is worth splurging on and that you’ll find in my backpack every single trip.
Waterproof + Dropproof Case
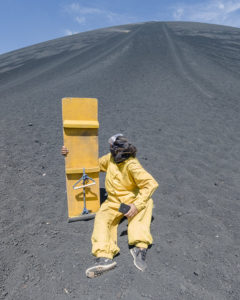
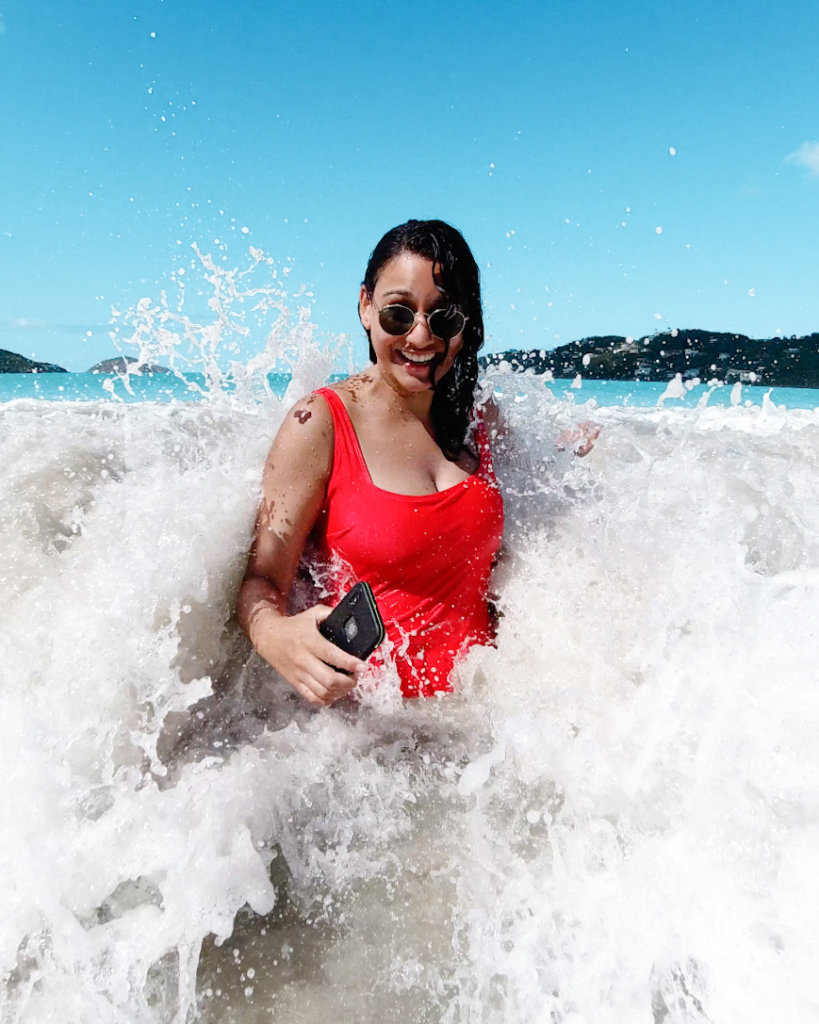
I have been using this case for over 5-years now and absolutely swear by it, the Lifeproof FRE is waterproof, dropproof, dirtproof and snowproof. My poor iPhone has been put through the absolute ringer during my travels (did you read about the time I dropped it off a moving tuk-tuk into oncoming traffic?!) and my FRE case has saved it, every. time.


Everyday Dropproof Case
For those who don’t need waterproof protection and prefer a slimline case (that’s still dropproof up to 2-metres!) look no further than the Lifeproof WĀKE Case. Bonus! WĀKE is also made from recycled ocean-based plastic, €1 from every purchase gets donated to one of Lifeproof’s water-conscious charity partners.
![]()


External lens

External lenses allow you to experiment with macro shooting, telephoto images, and more, all with the smartphone you carry everywhere with you. My favorite is the Olloclip 3-in-1 Essential Lens Kit. The bundle includes a Multi-Device Clip (which works on almost any phone), along with Fisheye, Super-Wide and Macro Essential Lenses that offer a 180° spherical effect, a wider field of view and macro magnification to enhance your mobile camera’s perspective. It comes with a bonus Bluetooth wireless remote that is ideal for taking selfies (wireless range of up to 30 ft). It can be used both with Video and Still photography. Just pair the release to your cellphone.
Olloclip Multi-Device Clip with 3-in-1 Essential Lens Kit
Portable Charger
When you’re traveling, you can’t always rely on a power point to be available and if it’s a particularly hot or cold destination, your phone’s battery life will be cut in half. Make sure you always have a way to charge your phone by bringing along a portable charger. My Lifeproof Battery pack not only recharges my iPhone up to 7 times but has an in-built torch and is waterproof, dropproof, snowproof, and dirtproof!! I learned my lesson on how scary and potentially dangerous it can be to not have a portable charger on hand (like that time I woke up locked in a bus at 3AM in a junkyard in Cambodia 🙃)
Lifeproof 10,000 mAH Battery Pack


One of the easiest ways to instantly improve your smartphone photography is to abide by the rule of thirds. When you turn the grid view onto your phone it’s super easy to see where your subject should be, and ensure you’ve got your camera straight. The idea here is to break each image down into thirds, both horizontally and vertically (you’ll get a visual of this as soon as you turn on the gridlines on your phone). Your goal is to keep your subject at the intersections or along the lines.
If you Google “rule of thirds,” you can find tons of samples showing comparison pics where the rule was applied and where it wasn’t. This will give you a clear idea of why it’s important.
To turn on the gridlines feature for your iPhone, go to Settings, click Photos & Camera, and switch Grid to on.
Use Lightroom Mobile
  |
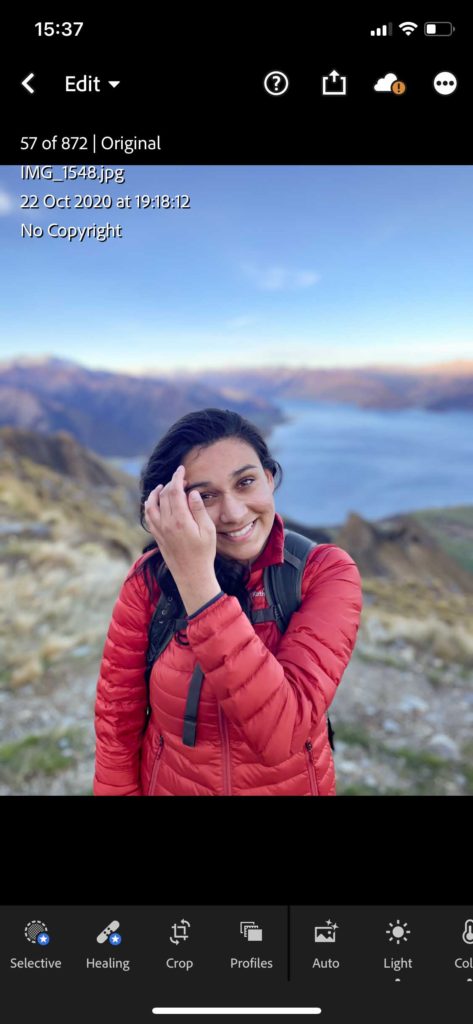 |

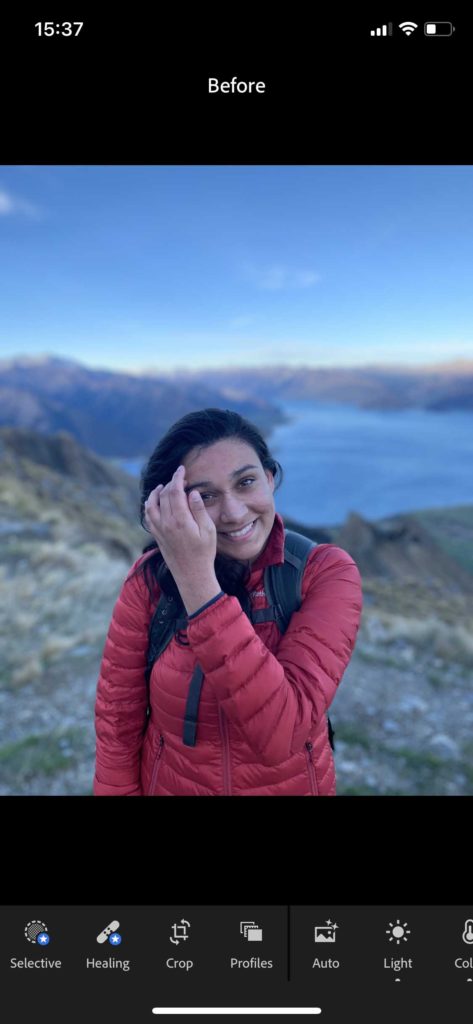
Every photo you see on Instagram has been edited, full-stop. Professional photographers do not shoot a picture to take it straight off the SD card and be done, they shoot to ensure they get the most out of the image in post-processing. This is exactly what you should with your phone photography as well.
I take my iPhone photos slightly underexposed so that I can retain detail and colour (then remove shadows and increase exposure in editing). I also adore pastel blues, so make sure to decrease the hue in Lightroom to get that specific daydream colour.
Just remember that when it comes to editing, less is often more. Unless you’re specifically going for a filtered look, spend time enhancing the natural beauty of your shot (dehaze, clarity, sharpness), then work out what style and colours you want to pop, that best suits the portfolio you’d like to create.
You want a final look that captures all of the rich shades and tones that you saw in person.
Don’t Zoom In
It’s tempting to zoom in, but don’t do it! Either physically get closer to your subject or plan to edit the shot later. Zooming in reduces the picture’s quality and creates a pixelated look.
Once you’ve zoomed in, you can’t fix the shot whereas a picture taken from farther away can easily be cropped.


Self-Shooting
I’ve traveled alone to over 50 counties so rely on a tripod and remote to take all my pictures, they are a cheap and easy-to-carry option. If you’re looking for a lightweight tripod that will work for your iPhone, DSLR, and GoPro – invest in a Gorilla Pod! It will easily fit in your bag and also can wrap around objects, helping you get the perfect shot!
![]()

Read More: How to Take Photo’s of Yourself when Traveling Solo
Shoot in Manual Mode
One of the main things that improved my travel smartphone photography game was learning how to shoot in manual mode. I downloaded an app called Halide that lets you take smartphone photos in RAW (gamechanger!!).
This means that your photos are taken in higher detail with lower noise.
Once you import the photo into Lightroom, you’ll have more control over your edits, and your pics will look sharper and more vibrant. Plus, the app helps you get that beautiful background blur or bokeh with just a tap of your finger (pictured below).


Using these simple tips and helpful gear you can take your phone on ANY adventure and have it capture the incredible moments from your travels.
![]()